There Sheathing Goes: Unveiling the Process
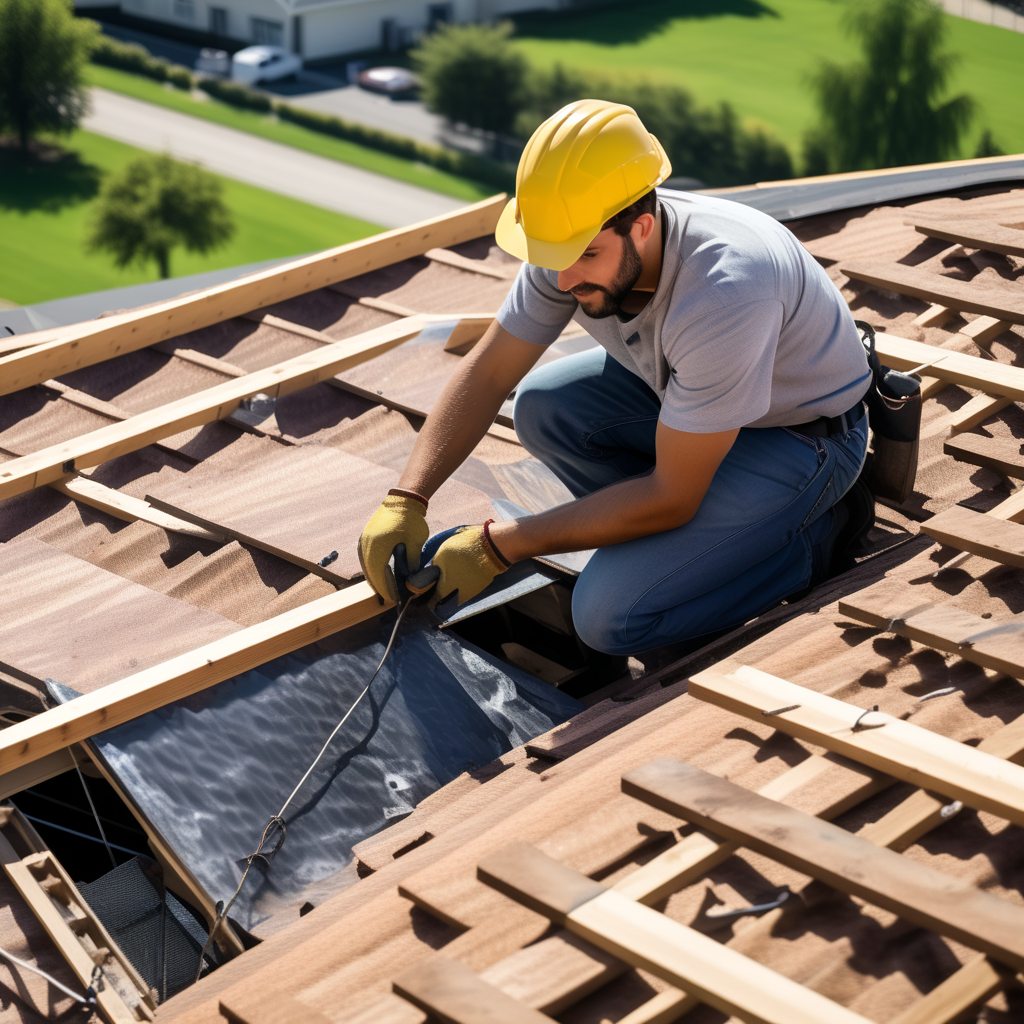
House sheathing, precisely roof sheathing installation, is an essential step in every roof construction. This crucial technique holds the underpinnings of your residential abode’s structural integrity, effortlessly handling the weight of roof materials with the additional load from accumulated snow or unwanted debris on it. Not only is it the first line of defense against weather, wearing, and woes, but it also paves the way for the subsequent attachment of other roofing materials.
Choosing Your Weapon: Roof Sheathing Materials
As with any strenuous task, the tools and materials are as fundamental as the skillset for perfect execution. When it comes to the most common materials for roof sheathing installations, plywood and oriented strand board (OSB) take the trophy due to their kindly high strength and resilience. These materials have developed reputations for their resilience and longevity, positioning themselves as the top choices for roofing solutions.
The Differences: Plywood Vs. OSB
While both plywood and OSB are clear favorites, it’s worth understanding the differences between the two. Plywood is heavier and typically costlier but boasts a greater capacity for resisting water. Meanwhile, OSB is lighter and more cost-effective, making it an appealing choice for budget-conscious homeowners.
Hammer Time: Roof Sheathing Installation Steps
Installing your sheathing is a straightforward task, provided the necessary steps are followed. This roofing installation guide will help you navigate through it. Understanding the roof installation process will also build your confidence in DIY sheathing installations.
Step-by-step Roof Sheathing Installation
Step 1: Measuring Up
As with any construction process, measuring your roof correctly is the starting point. Make sure you accurately assess your roof’s size and dimensions.
Step 2: Material Selection
Once you know the size of your roof, decide on the roofing materials you want to use. As mentioned earlier, OSB and plywood are the more common and reliable options.
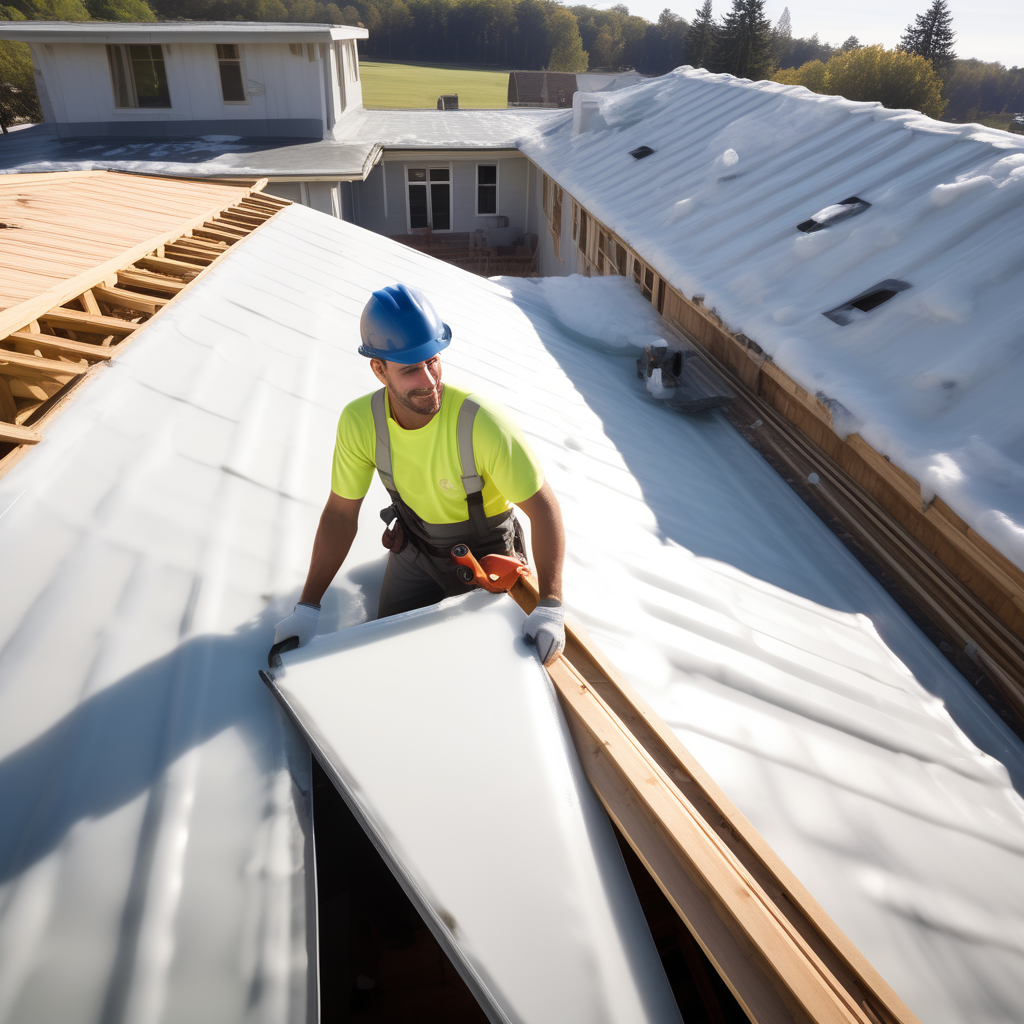
Step 3: Laying the Sheets
Begin at the lower corner of the roof, laying each sheet down one by one. Leave a slight gap between the panels to accommodate future expansion.
Step 4: Nail it down
Nail down each panel, ensuring they fit tightly against one another. Make sure that the nails penetrate the rafters below for stable attachment.
Step 5: Check and Repeat
Double-check your work and make any necessary adjustments. Repeat the process until the entire roof has been sheathed.
Auspicious Advice: Tips and Tricks
Don’t Skip the Starter Strip
Creating a starter strip along the eaves will prevent water infiltration on the edge of the roof.
Use the Right Nails
When it comes to residential roofing, choosing the right nails for your sheathing and roofing material is crucial.
Use Horizontal and Vertical Layouts
Change the panels in different orientations to ensure complete and secure coverage.
Cracking the Code: Answering Frequent Queries
How long does roof sheathing installation take?
This largely depends on the size of your roof and expertise. For an average-sized roof and intermediate DIY skill level, it takes about 2-3 days.
What’s the best sheathing material to use?
For the best balance of durability, weight and cost-effectiveness, both OSB and plywood are top choices.
Top It Off: Final Musings On Roof Sheathing
So there you have it, your detailed and punny yet informative guide on roof sheathing installation. Whether you’re taking on the DIY route or looking to understand your professional’s steps a little better, knowing the roof sheathing basics will go a long way. Remember, ‘sheath’ happens, but with this guide, you’re well on your way to build a strong roof, just like the rest of Columbus, OH. Now, pick up that hammer and start making ‘roof’ for your dream house!